Techniques for Capturing the Milky Way
Ah, an evening under the stars. Often filled with solitude and a calm stillness, photographing the milky way can be filled with awe and wonder as the cameras sees much more than our eyes. The galactic core of our galaxy gets blasted into our retinas by high resolution LCD displays. Our eyes, accustomed to the darkness, are filled with the luminosity of a billion stars. But if you are new to night sky photography, the challenges are unique and there exist many techniques to get to a final image. I will go over some of the pros and cons of various methods I have used over the years as a sort of “primer” for those just starting out.
Single Exposure
The easiest approach to photographing the milky way is simply a single exposure. Ideally, you are under the darkest sky possible, so either a new moon, a thin crescent, or it has yet to rise or already has set. Your exposure settings are all about capturing as much light as possible. A high ISO, an open aperture, and long shutter speed will all help get a decent exposure at night. How high you go on your ISO is somewhat dependent on your camera, but as noise reduction software improves, don’t hesitate to use higher values like 6400-12,800. Ideally, your lens has a bright aperture like f2.8. Even better if it can do f1.8 or f1.4. Yes, you can use a lens that is f4 at its brightest, but to compensate, your ISO will need to be higher or your shutter speed longer which can lead to longer star trails. Speaking of shutter speeds, there are old rules like the “500 Rule”. You divide your focal length into 500 to get the longest shutter speed you can use before getting noticeable star trails. For example, a 20mm lens would mean 500/20 = 25 seconds. The problem with this rule is that today’s high resolution sensors resolve so well, you can zoom in and still see trails. The app PhotoPills has a calculator and for a 24MP sensor, it suggest something closer to 6 seconds. That’s quite the discrepancy (and more like the 120 Rule)! I personally use something closer to a 200-250 rule. That gets me 10-13 seconds using my 20mm lens. As for aperture settings, wide open is certainly an option, and what I would recommend doing so if your lens can’t go beyond f4. But if you have an f1.4 or f1.8 lens, I tend to close the aperture, or stop down, 1/3 – 2/3 stops. This improves sharpness and can reduce lens aberrations like coma and vignetting.
Pros: No special equipment is needed beyond your camera, lens, and tripod. Basic editing software will do the trick back home. Localized edits are preferred if possible.
Cons: Depth of field. If your landscape includes relatively close earth based subject matter, and you’re aiming to get the stars in focus, then you are essentially focusing on infinity. With an open apertures like discussed earlier, depth of field will be quite shallow. Your land will suffer from lack of sharpness. Similarly, if your exposure settings are dialed in for the night sky, the land tends to be moderately underexposed. While modern cameras can have exposure and shadows lifted in post processing, they perform their best at or close to their base ISO (eg 64-100). They don’t have nearly the ability to rescue dark areas at high ISOs like 3200-12800.
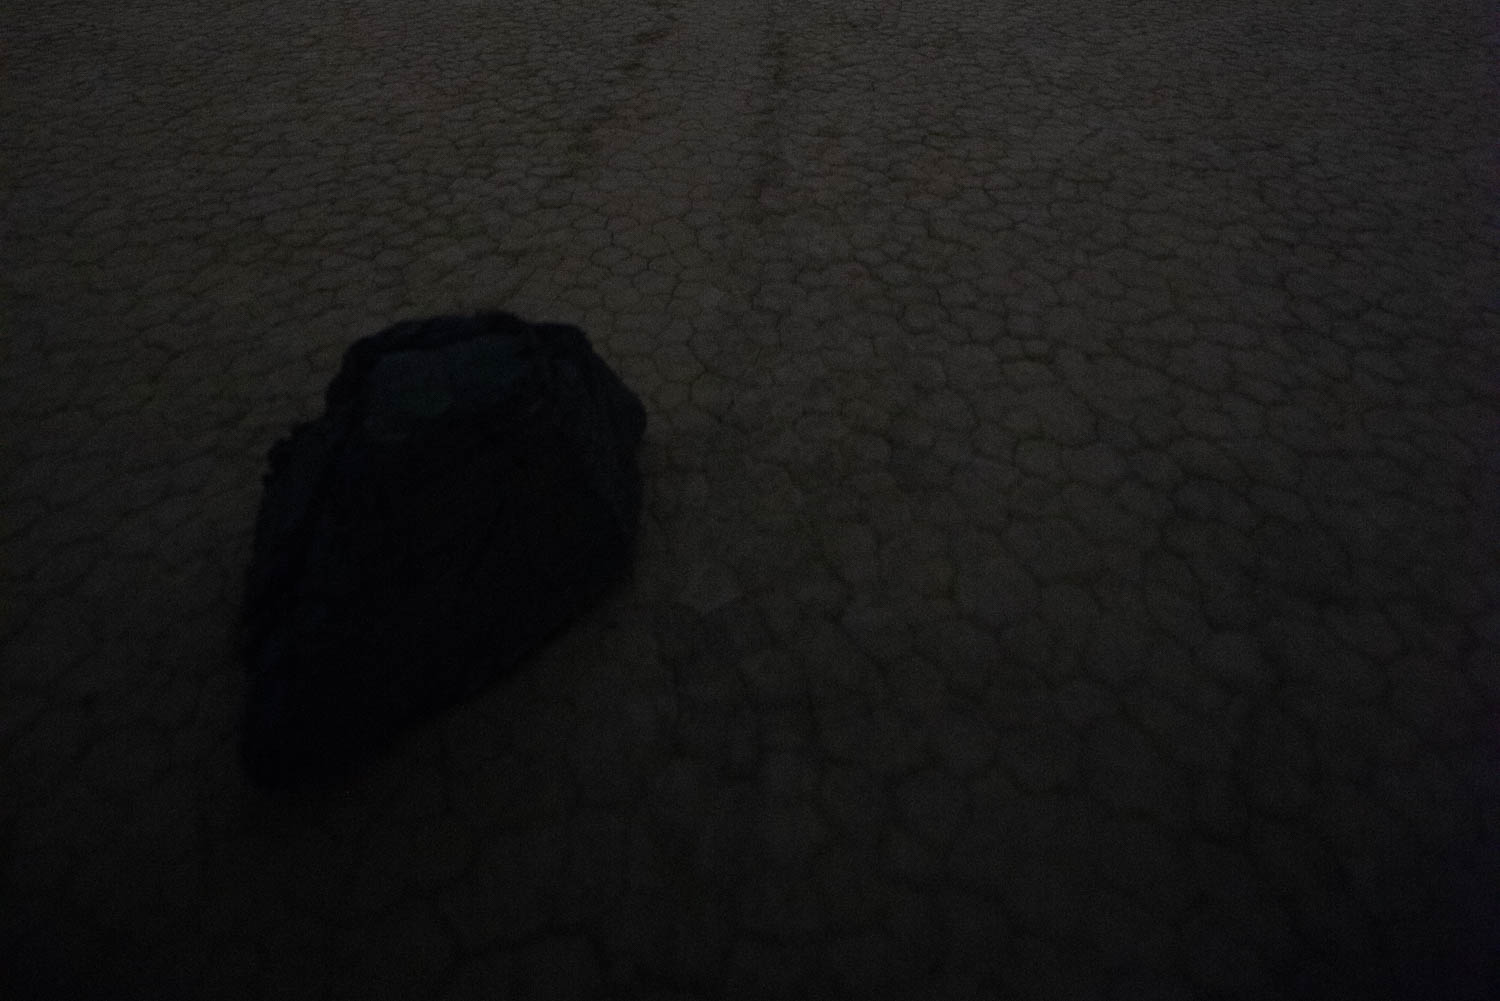
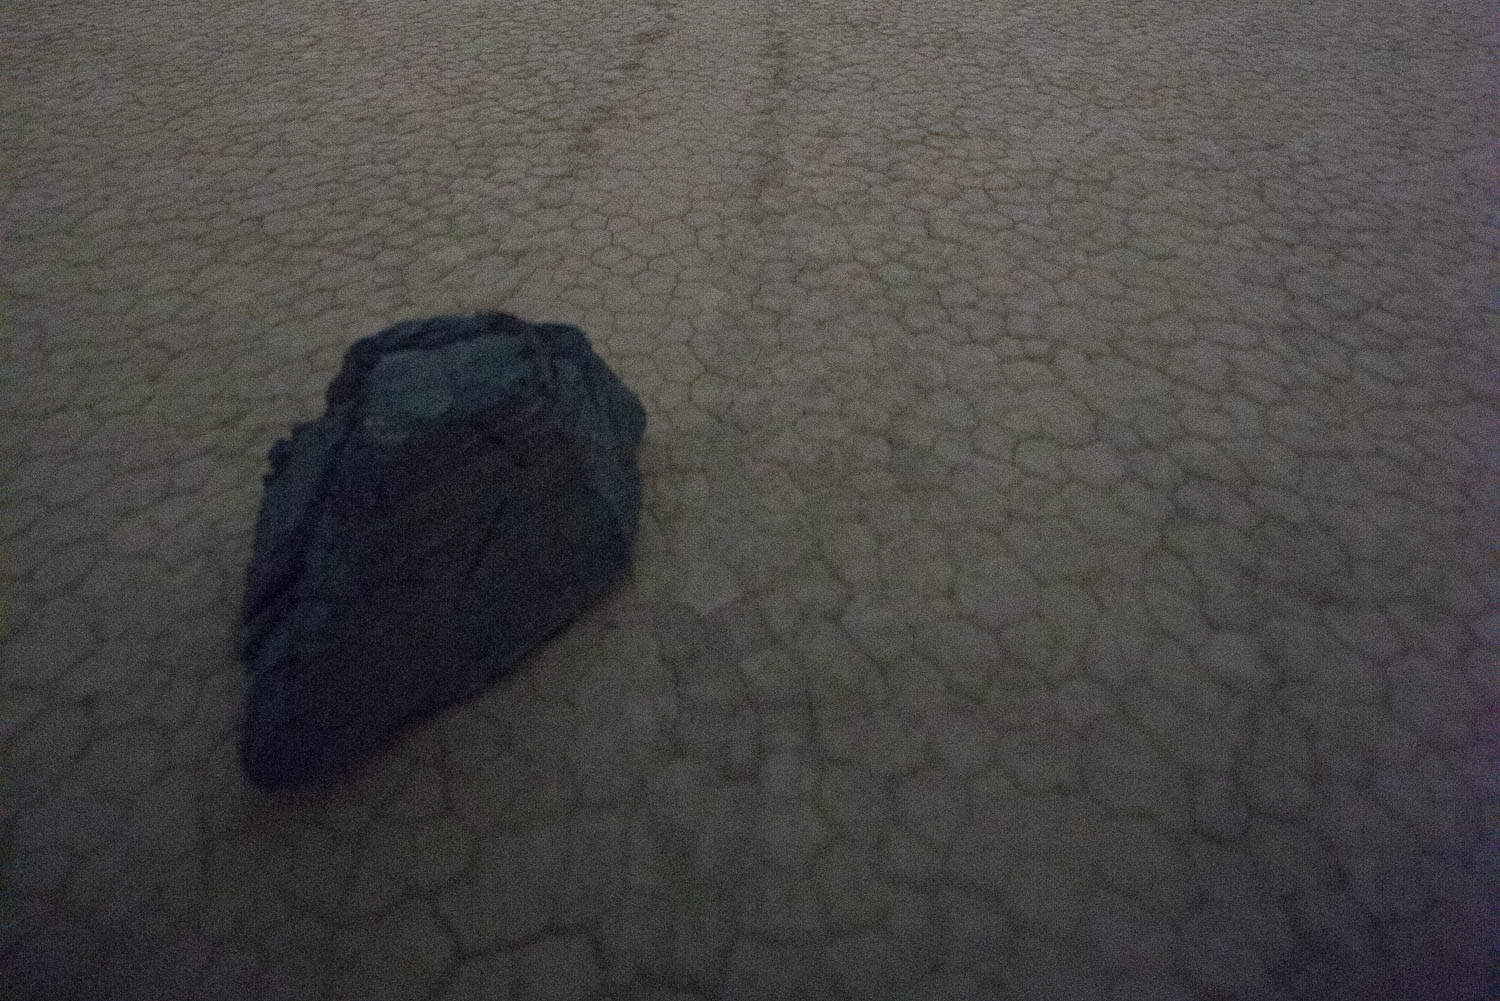
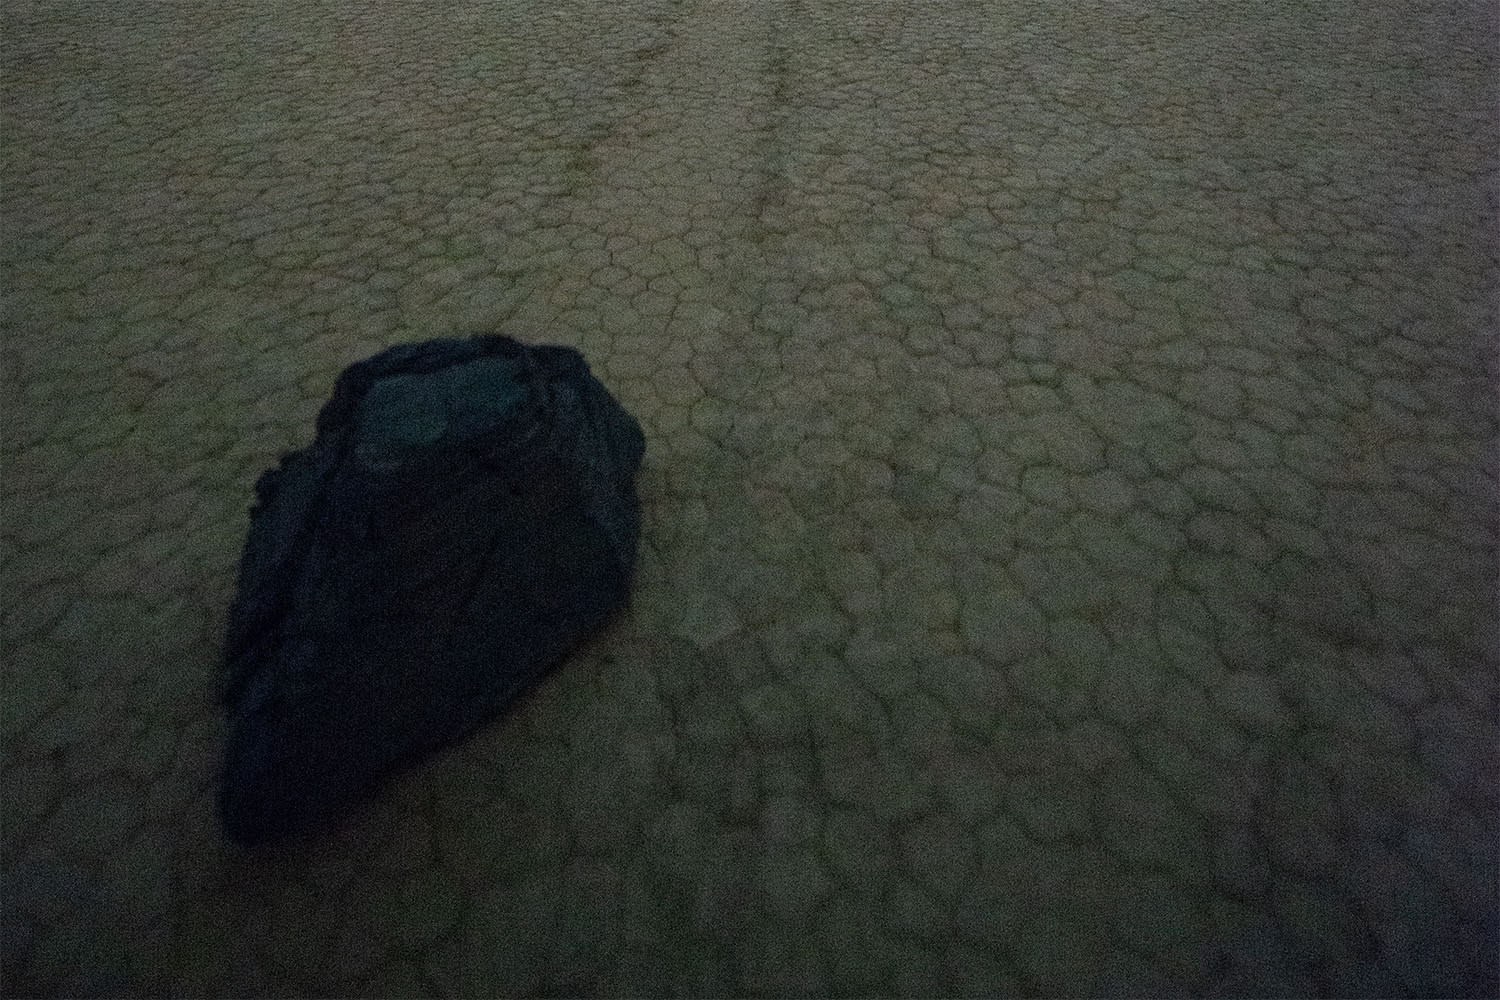
Example Below: using a single RAW file at ISO 6400 at f2.8 before and after brightening the foreground. Notice the noise and lack of sharpness.
Simple Composites: Just Two Exposures
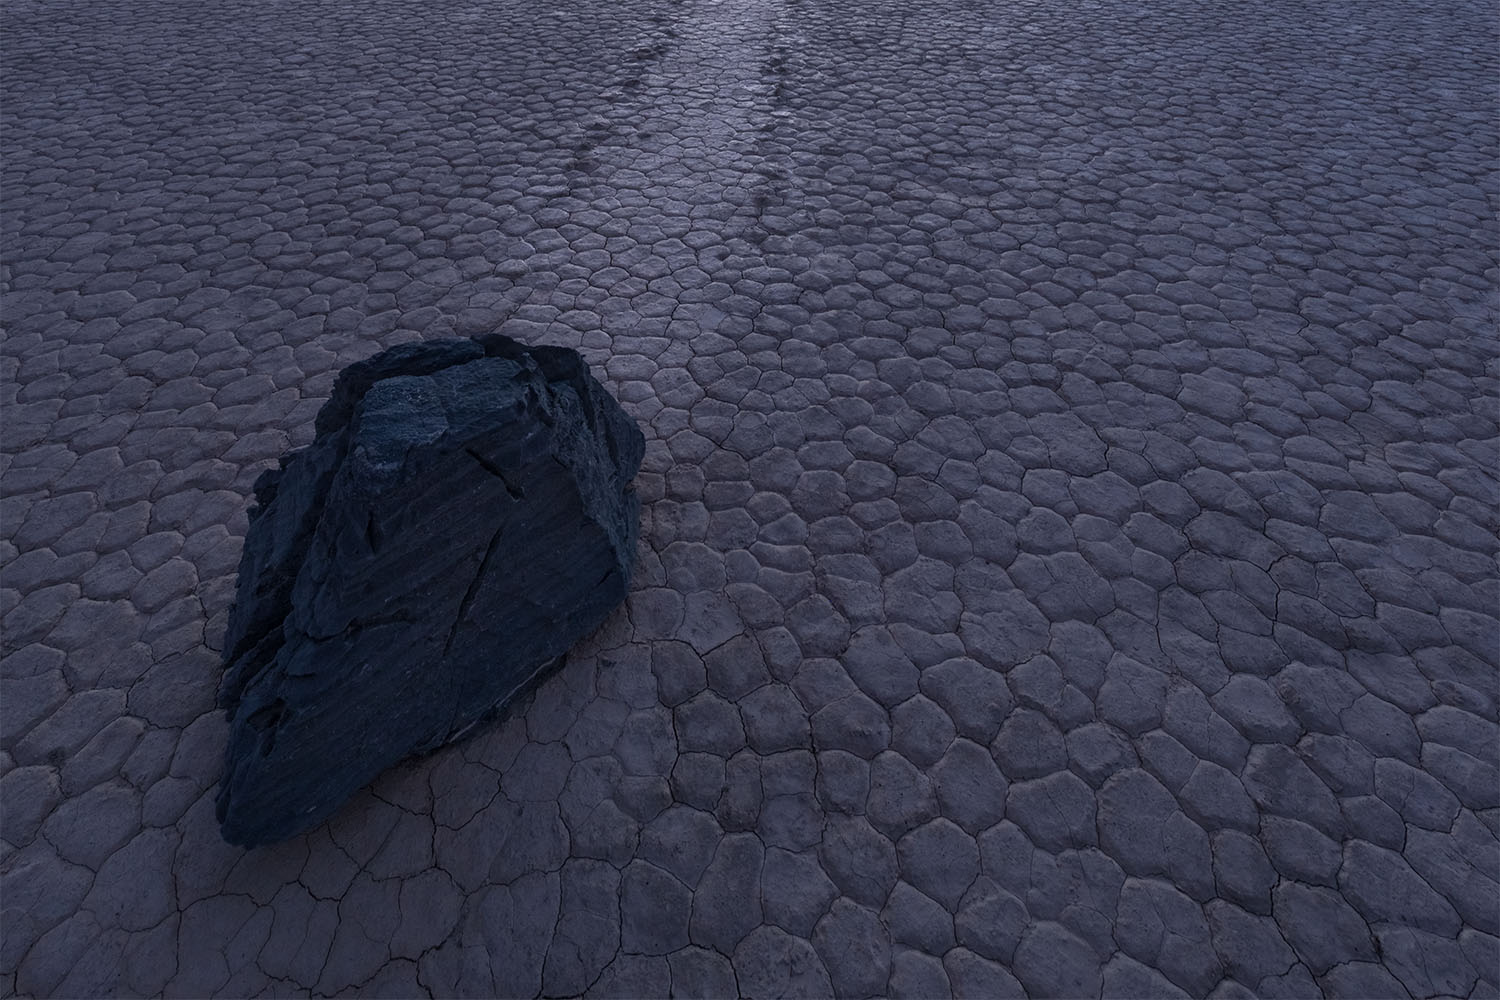
Compositing is one of the techniques used to overcome the two main drawbacks of a single exposure. And the simplest way to create a composite is with two single exposures. One exposure is for the milky way sky using the settings discussed earlier. The second exposure is for the land. The easiest way to capture the land exposure is while there is more ambient light. In order to simulate the low contrast and dark blue tones of night, this is often done at twilight after sunset or dawn just before sunrise. When there is more light, you can stop your aperture down to f11-f22 (or even focus stack if you please for max sharpness). Your ISO can also be much lower to reduce noise. I’ve use anywhere from ISO 64 – 1600 for my land images. If your landscape is static and wind is nominal, shutter speeds can stretch into minutes if need be. Using the same example from above, I shot the desert playa and sliding rock at twilight. Settings were: f16, ISO 400, 4 minutes. Compare the sharpness, depth of field, and noise levels from the single exposure at f2.8, ISO 6400, 25 seconds.
Pros: Much greater quality as a result of capturing the land when more light is available. This increases depth of field and sharpness and considerably reduces to eliminates visible noise. Some composites can be simple to blend in Photoshop with just two layers and basic masking techniques.
Cons: Still relies on a single sky frame which requires high ISO and limited shutter speeds for pin point stars. Requires more time in the field in order to get both stars and land at different phases of the day. Although some may see this as a pro. I really enjoy the “down time” when I’m not actively shooting. More relaxing and quiet time. The main con would be complex horizon lines. I recently tackled a composite with lots of trees bridging the horizon into the night sky. Knowledge of more refined masking tools is required to yield the best results. Along those same lines, it’s good to have a refined eye for color matching and tonality to make the composite blends realistic.
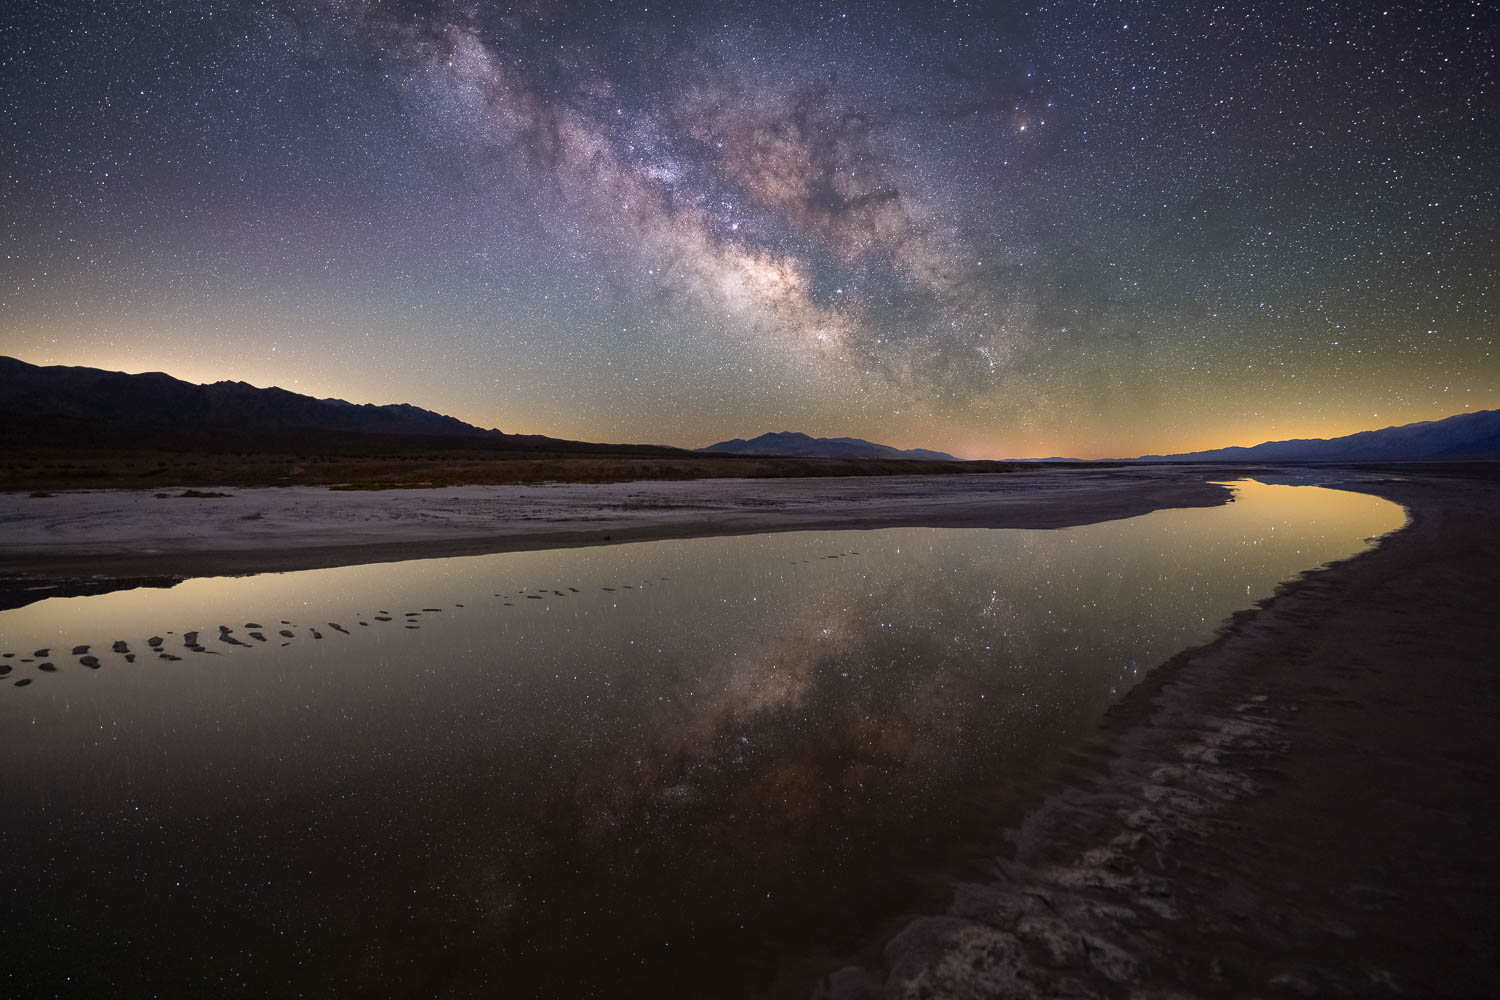
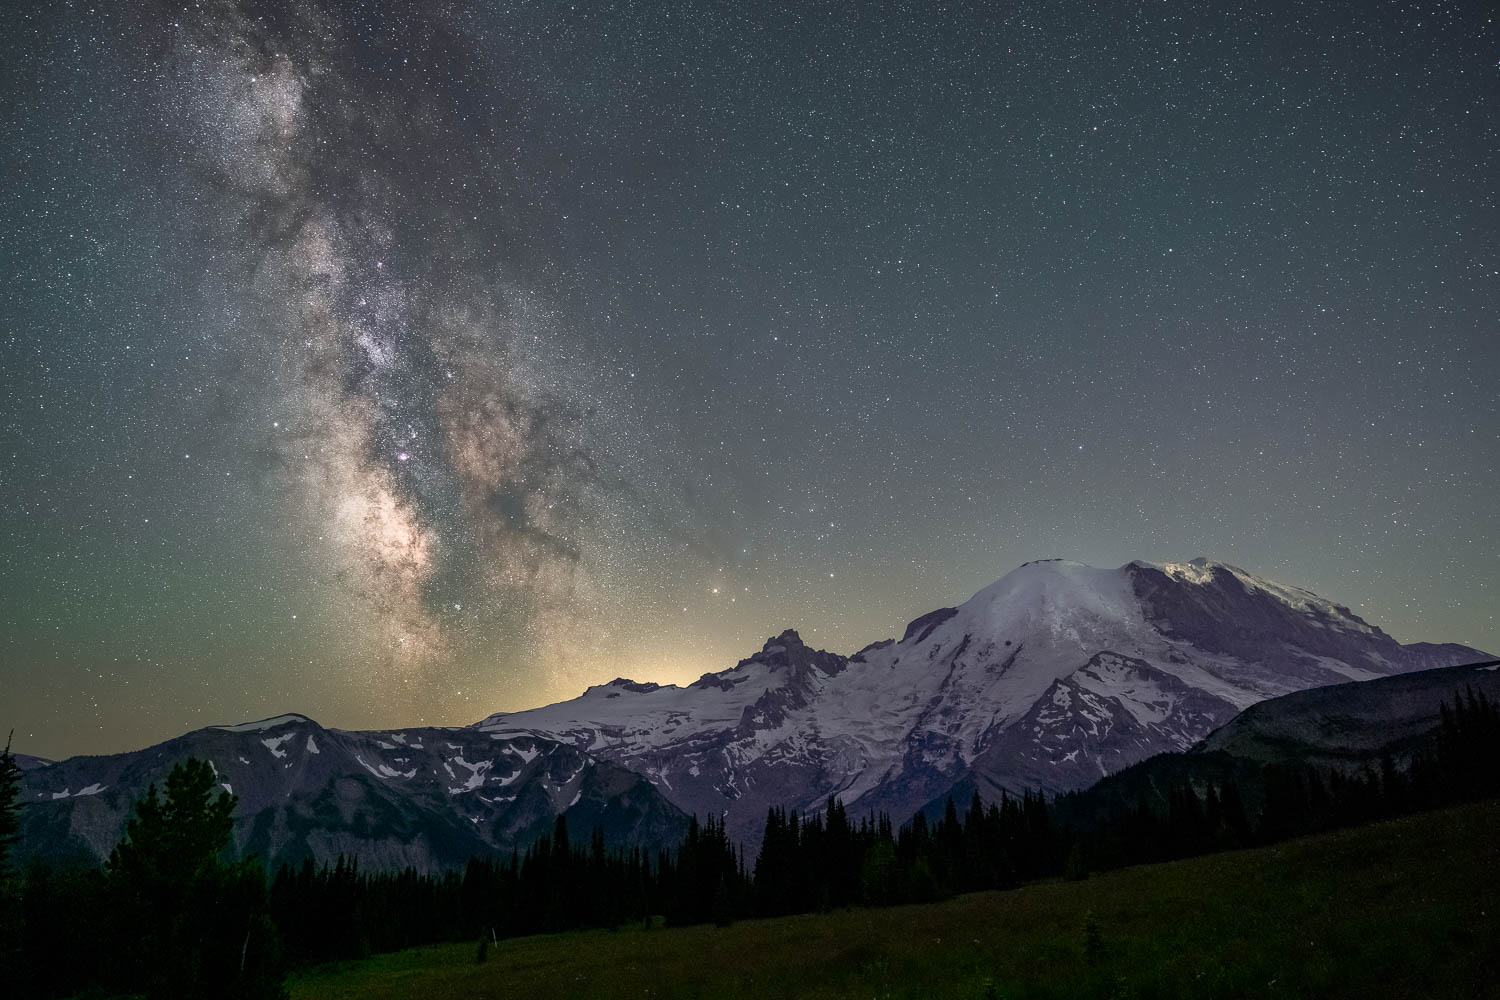
Examples below: All three images created using a single sky file and a single land file.
Simple Stacking
Stacking is a technique wherein you take multiple photos, one right after another, of land and sky at identical exposure settings. For example, you might use similar settings to those used in a single night sky exposure. Photoshop has the ability to stack them all in order to reduce noise. This works quite well for static scenes. You can reference my blog article about denoise via stacking. However, when astrophotography includes a land element, the earth’s rotation only affects the sky. Yes, you can align and stack the land, and then align and stack the sky separately. But aligning each image just for the sky often proves too difficult for Photoshop. But lucky us, Windows users can try the free software Sequator and Mac users can pay for Starry Landscape Stacker ($39.99 at the time of writing). These software can align and stack the sky and land independently, de-noise them, and put them back together. Pretty cool! I have been shooting 10-20 “light” frames of my composition. It is worth noting that you can increase quality and reduce noise even further by taking “dark” frames. These dark frames are at identical settings to your light frames, just put your lens cap on and capture some shots. These dark frames reduce various types of sensor noise like hot pixels, dark current, and amp glow. I take 10-20 of these as well.
Pros: No compositing skills required when using Sequator or Starry Landscape Stacker. Considerably less noise and better dynamic range for editing compared to using single sky files. The resulting sky files can be used in compositing for an even better final image.
Cons: Still relies on more wide open apertures to get a proper sky exposure so getting proper depth of field in a near / far composition is not possible, but at least it will work well for distant land objects. As well, the land may still be too dark. While stacking will allow more wiggle room in editing, it is not as forgiving as land captured at twilight / dawn. Workflow: requires another software to bridge the gap between RAW and final edit.
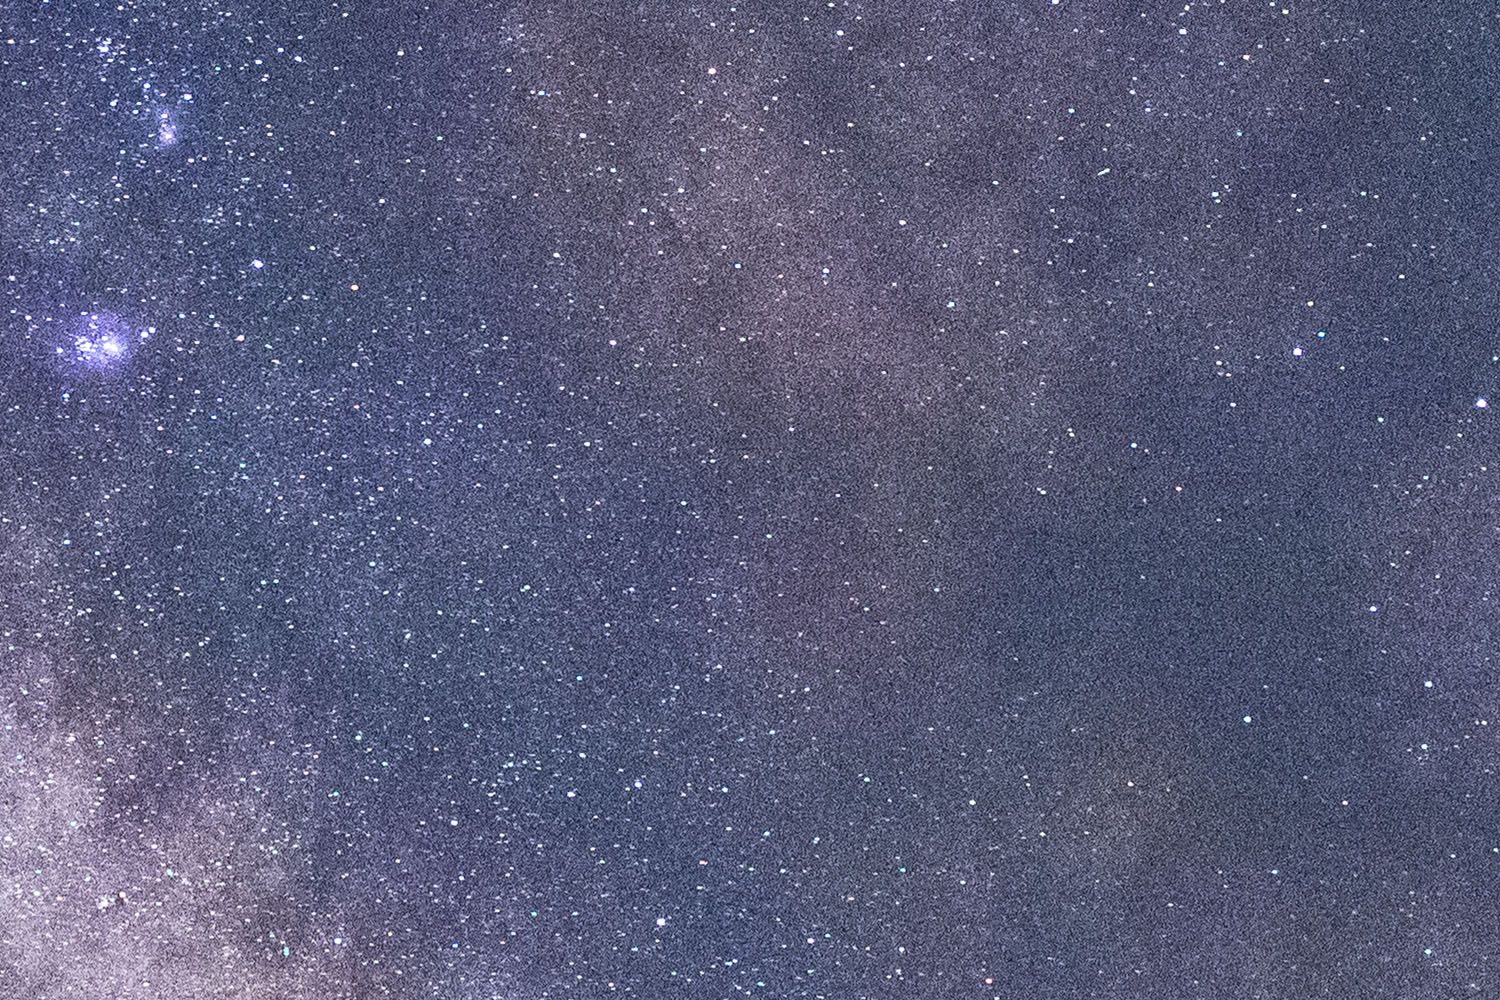
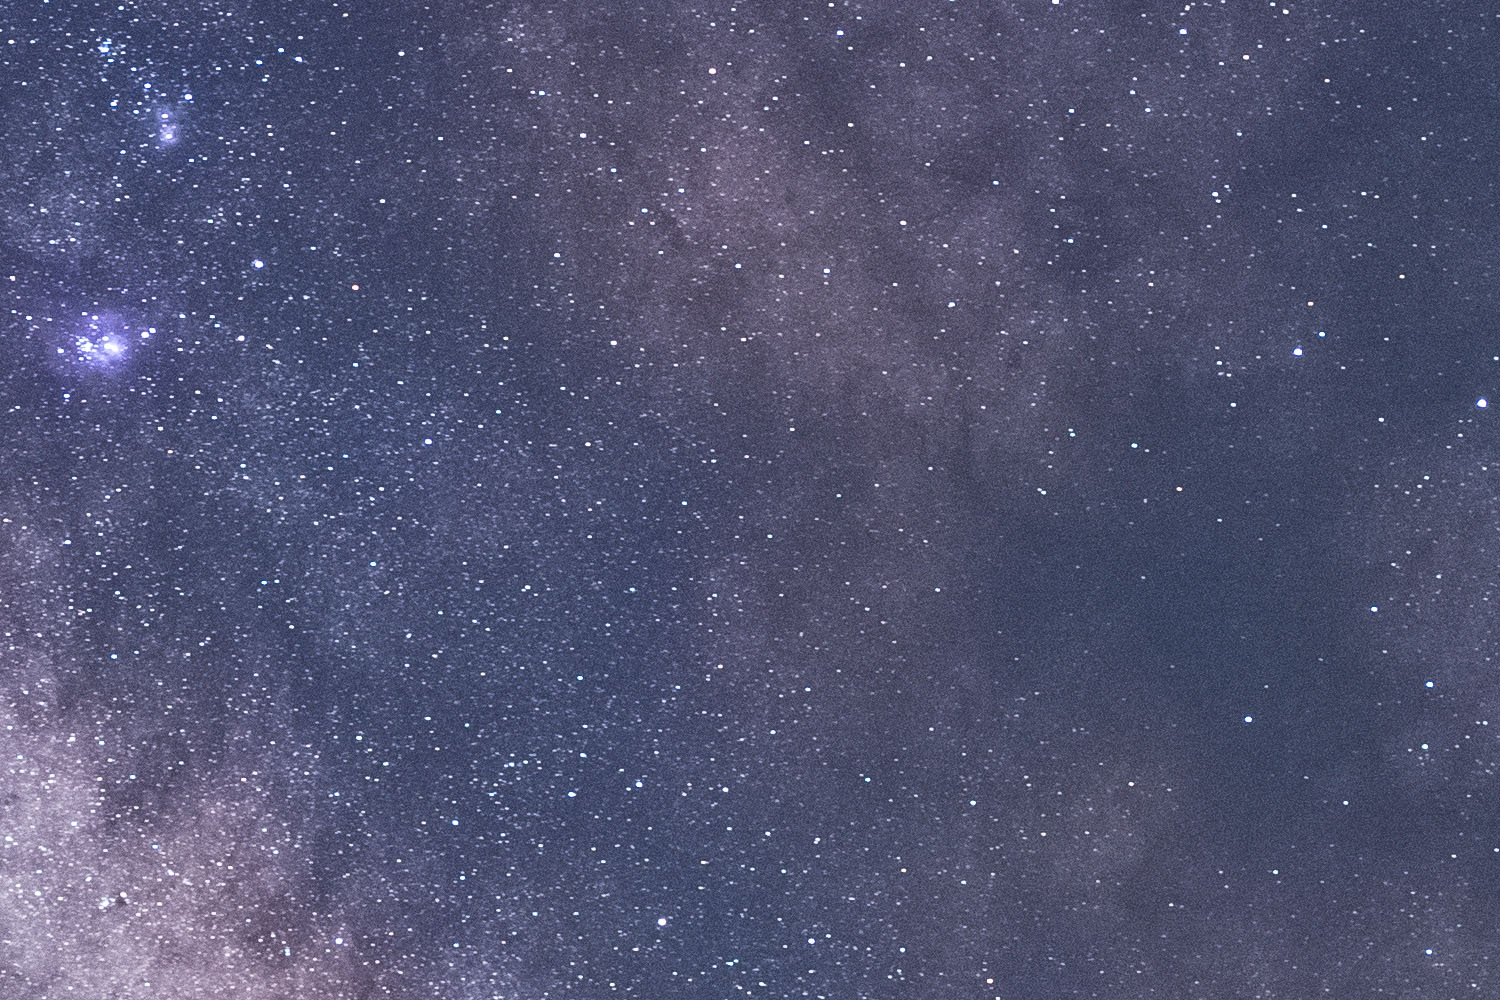
Look at the noise present in the Before / After example below. The single file was at ISO 12,800. The stacked file is a mix of 20 “light frames” and 10 “dark frames” merged in Starry Landscape Stacker.
More Examples Below: Both images created using a single set of exposure settings and stacked using Starry Landscape Stacker.
Tracking: Requires Composites
Tracking is the last technique I have personally tried and while I’m no expert, I can at least discuss some pros and cons for wide field astrophotography (vs deep space using telescopes or telephoto lenses). Astro trackers fit between your tripod and camera, need to be aligned with the axis of the earth’s rotation, and ultimately allow you to expose for longer periods of time while keeping stars as points of light. Free from the constraints of short shutter speeds when following the old 500 Rule or similar, you now have more light getting to your camera’s sensor. With proper alignment, you can reach multi-minute long shutter speeds. These additional stops of light gained can be offset by lower ISOs for less noise and smaller aperture for better sharpness. I have tried the basic tracker from Move Shoot Move. Unfortunately, it was their first iteration and I had components fail both times I used it. Frustrating to say the least. They have since released a newer model which does appear more refined. Other brands making portable units include Vixen, Slik, and iOptron.
Pros: Ability to use smaller apertures for better sharpness and less aberrations for the sky. Ability to use lower ISOs as the tracking mechanism allows for longer shutter speeds without stars trailing.
Cons: Requires modestly priced trackers ($250-500) to start. More set up time for aligning with either the north star or the actual polar center. Will require compositing skills since the land will be blurred in tracked frames.
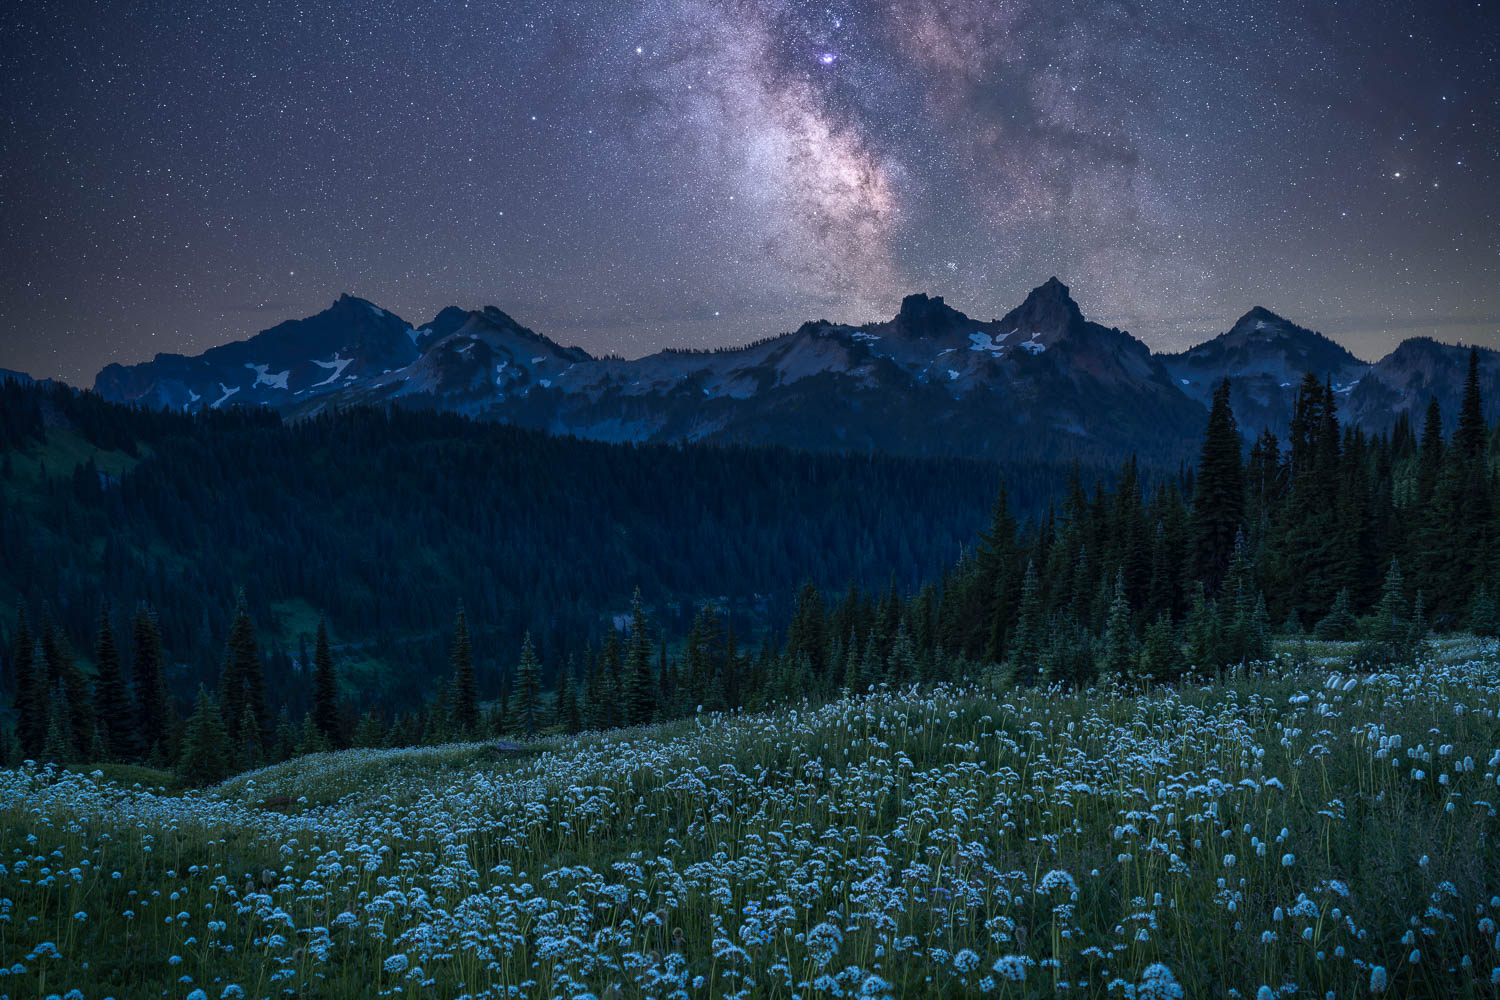
Examples below: These two images are using tracked skies composited with land images taken with stacking frames at night to reduce noise..
Final Thoughts
With all of these various techniques available, the sky is the limit. Pun fully intended. You can mix and match techniques based on conditions and timing of your visit. If you are new to milky way photography, single exposures are the best place to start. And with minimal to zero extra investment, stacking will improve the quality without requiring compositing skills or extra tracking equipment. But for the best quality, tracking the sky and compositing with a high quality land image is still the way to go. My preferred technique at the time of writing this (October 2025) is to stack my skies using Starry Landscape Stacker using 10-20 light and dark frames and compositing them with land images taken during twilight or dawn. It requires no extra gear and yields quality results I am happy with. If you’d like to learn more about photographing the night sky, my March Death Valley and Mount Rainier photo workshops all have night sessions including the milky way.
Best,
Jim Patterson
Leave a Reply
Want to join the discussion?Feel free to contribute!







Thank you for this article and the tip about Composites. I never could figure out how to make my land image sharper while also keeping my sky image clear. I will try your method the next time I’m out there.
-Alicia-
Thanks for the article and tips. I’ve been shooting the Milky Way for several years. I switched to the Star Adventurer 2i a while back to track the stars and cannot believe the difference in the quality of the images. I shoot at a much lower iso, so there is less noise and the colors that it records are amazing. It’s actually pretty easy to use – the only drawback is the extra weight, but I’ve carried it several miles without a problem.